Choosing food packaging can feel overwhelming. Businesses must compare materials, package styles, safety requirements, shelf life, branding, transportation, customer convenience, sustainability, and cost.
The most attractive or least expensive package is not always the best choice. Packaging must first protect the food under the conditions in which it will be filled, transported, stored, sold, and used.
A package that works well for dry cookies may fail when used for hot soup. Packaging designed for refrigerated food may not be suitable for freezing or microwave heating. That is why every packaging decision should begin with the product itself.
This guide explains how to choose the best food packaging for your product, from identifying its protection needs to testing the finished package.
Why Choosing the Right Food Packaging Matters
Packaging affects more than appearance. It can influence:
- Food safety
- Freshness and shelf life
- Flavor, color, and texture
- Product damage and waste
- Manufacturing efficiency
- Transportation costs
- Customer convenience
- Brand recognition
- Regulatory compliance
- Environmental impact
- Overall profitability
Poor packaging can lead to leaking containers, broken seals, stale products, contamination, damaged deliveries, and unhappy customers.
Effective packaging protects the product while also making it easier to store, transport, display, purchase, and use.
For an introduction to packaging types, materials, safety, and regulations, read our complete guide to food packaging.
There Is No Single “Best” Food Package
The best food package is the one that performs reliably for a particular product and supply chain.
A glass jar may be an excellent option for premium jam, but its weight and breakability could make it unsuitable for an outdoor event. A paper box may work well for cereal, but the cereal may still require an inner bag for moisture protection.
Packaging decisions should be based on factors such as:
- Type of food
- Moisture and fat content
- Acidity
- Filling temperature
- Storage conditions
- Required shelf life
- Transportation method
- Customer expectations
- Production volume
- Available equipment
- Budget
- Applicable regulations
Businesses should evaluate these factors together instead of making a decision based on one feature.
Step 1: Understand Your Food Product
The food itself should guide the packaging decision.
Start by documenting its physical and chemical characteristics.
Is the product solid, liquid, or powdered?
Liquids require secure seals and leak-resistant containers. Powders need packaging that prevents moisture from entering and keeps fine particles from escaping. Solid products may require protection from crushing, punctures, or movement.
Examples include:
- Soup needs a leak-resistant container.
- Flour needs a package that contains fine particles.
- Crackers need protection from moisture and crushing.
- Fresh berries need ventilation and physical protection.
Is the food dry or moist?
Dry foods such as cereal, crackers, spices, and powdered drink mixes can lose quality when exposed to moisture.
Moist foods may leak, weaken paper-based packages, or require stronger seals. They may also need refrigeration or additional protection against microbial contamination.
Does the food contain oil or fat?
Oily foods can stain or weaken untreated paper. They may require grease-resistant paper, coated paperboard, plastic, glass, metal, or a suitable multilayer structure.
Examples include:
- Butter
- Fried foods
- Nuts
- Cooking oil
- Cheese
- Sauces
- Baked goods containing fat
Is the product acidic?
Tomato products, fruit juices, pickles, sauces, and other acidic foods may interact differently with packaging materials.
Businesses should confirm that the container, coating, closure, and seal are suitable for the food’s acidity and expected contact time.
Is the food sensitive to oxygen?
Exposure to oxygen can affect the flavor, color, aroma, and quality of many products.
Foods that may need good oxygen protection include:
- Coffee
- Nuts
- Meat
- Cheese
- Cooking oils
- Dried foods
- Certain snacks
Glass, metal, foil, and high-barrier films can provide different levels of oxygen protection.
Is the food sensitive to light?
Light can affect certain oils, beverages, dairy products, vitamins, and natural colors.
Possible solutions include:
- Colored glass
- Metal cans
- Aluminum foil
- Opaque plastic
- Printed cartons
- Light-blocking labels or sleeves
Does the product release gas or moisture?
Fresh produce continues to breathe after harvesting. Some foods also release moisture or gases during storage.
Packaging that is completely sealed may not be suitable for every fresh product. Ventilated containers, perforated films, or carefully designed atmosphere-control systems may be needed.
Step 2: Define the Conditions of Use
Food-contact materials should be selected according to how the finished package will actually be used.
The FDA organizes conditions of use into categories that include high-temperature sterilization, hot filling, room-temperature storage, refrigeration, freezing, reheating, irradiation, and cooking at high temperatures.
This demonstrates why a general statement such as “food safe” is not enough. A package should be suitable for the specific food, temperature, processing method, and contact time.
Filling temperature
Ask whether the product will be:
- Cold filled
- Room-temperature filled
- Warm filled
- Hot filled
- Filled before heat processing
A container that performs well at room temperature may soften, distort, crack, or lose seal strength during hot filling.
Storage temperature
Determine whether the product will be:
- Shelf-stable
- Refrigerated
- Frozen
- Stored under changing temperatures
Freezing can make some materials brittle. Condensation can weaken untreated paper and labels. Heat can soften certain plastics or affect seals and adhesives.
Reheating and cooking
If customers will heat the food inside its package, determine whether the package is intended for:
- Microwave reheating
- Conventional oven heating
- Boiling water
- Steam
- Hot holding
Never assume a container is microwave-safe or oven-safe based only on its appearance. Obtain clear use specifications from the supplier.
Contact time
Packaging used for a meal that will be consumed within an hour has different requirements from packaging that will remain in direct contact with food for a year.
Long contact times may require stronger barriers and more detailed compatibility testing.
Step 3: Set a Realistic Shelf-Life Goal
Shelf life is the period during which food is expected to remain safe and maintain acceptable quality under stated storage conditions.
A small bakery selling products on the same day has different needs from a company distributing packaged snacks nationally.
Factors that may affect shelf life include:
- Oxygen exposure
- Moisture gain or loss
- Light
- Temperature
- Microbial growth
- Seal quality
- Product formulation
- Processing method
- Packaging material
- Transportation conditions
Packaging can support shelf life, but it cannot correct poor hygiene, inadequate processing, or improper storage.
Match barrier protection to the product
Barrier properties describe how well a material limits the movement of oxygen, moisture, aromas, light, or other substances.
A very high barrier is not automatically necessary for every product. It may increase packaging cost and make recycling more difficult.
Businesses should choose enough protection for the intended shelf life without adding unnecessary complexity.
Conduct shelf-life testing
Shelf-life decisions should be based on testing rather than guesswork.
Testing may evaluate:
- Taste
- Aroma
- Texture
- Color
- Moisture
- Microbial stability
- Package integrity
- Seal strength
- Oxygen levels
- Product-package interaction
The final product should be tested in its actual package under expected storage and distribution conditions.
Step 4: Select the Right Packaging Format
After understanding the food’s needs, compare packaging formats.
Bottles
Bottles are commonly used for:
- Beverages
- Sauces
- Oils
- Syrups
- Dressings
They can be made from glass or plastic and may include pumps, pouring spouts, tamper-evident bands, or resealable caps.
Jars
Jars work well for products that customers scoop, spoon, or pour.
Common uses include:
- Jam
- Pickles
- Sauces
- Spices
- Nut butter
- Preserved foods
Wide openings improve access but may expose more of the product to air each time the package is opened.
Cans
Cans provide strong protection against oxygen, light, moisture, and physical damage.
They are frequently used for:
- Vegetables
- Soup
- Meat
- Seafood
- Fruit
- Beverages
- Pet food
Cans are suitable for many long shelf-life products but require specialized filling, sealing, and processing equipment.
Flexible pouches
Pouches are used for snacks, coffee, frozen foods, sauces, baby food, dry ingredients, and pet food.
Possible features include:
- Zippers
- Spouts
- Tear notches
- Gussets
- Hang holes
- Clear windows
- High-barrier layers
Pouches are lightweight and use relatively little material, but multilayer versions can be difficult to recycle.
Trays
Trays are commonly used for:
- Meat
- Seafood
- Produce
- Prepared meals
- Bakery products
- Takeaway food
They may be sealed with film, closed with a lid, or placed inside a sleeve or carton.
Boxes and cartons
Paperboard boxes offer a large surface for branding and product information.
They are commonly used for:
- Cereal
- Crackers
- Frozen food
- Tea
- Bakery products
- Dry mixes
Some products require an inner bag, tray, or liner for additional protection.
Cups, tubs, and bowls
These formats work well for yogurt, dips, salads, desserts, ice cream, soup, and takeaway meals.
They can include snap-on lids, peelable seals, or tamper-evident features.
Wraps and films
Films can be used to wrap individual foods, seal trays, bundle products, or create vacuum packaging.
Their performance depends on thickness, material structure, sealing method, and barrier properties.
Step 5: Compare Packaging Materials
After selecting a format, compare materials that can provide the required performance.
Plastic
Plastic is lightweight, versatile, and available in rigid and flexible forms. It can provide moisture resistance and may reduce transportation weight.
Different plastics offer different levels of heat resistance, clarity, strength, and barrier protection.
Paper and paperboard
Paper-based packaging is lightweight, printable, and familiar to consumers. However, it may require a coating or liner for wet, oily, frozen, or high-barrier products.
Glass
Glass provides strong barrier protection and a premium appearance. It is useful for sauces, jams, beverages, and preserved foods.
Its weight and risk of breakage can increase transportation and handling costs.
Metal
Steel and aluminum offer excellent protection against light and physical damage. Metal is frequently used for cans, trays, foil, and lids.
Molded fiber
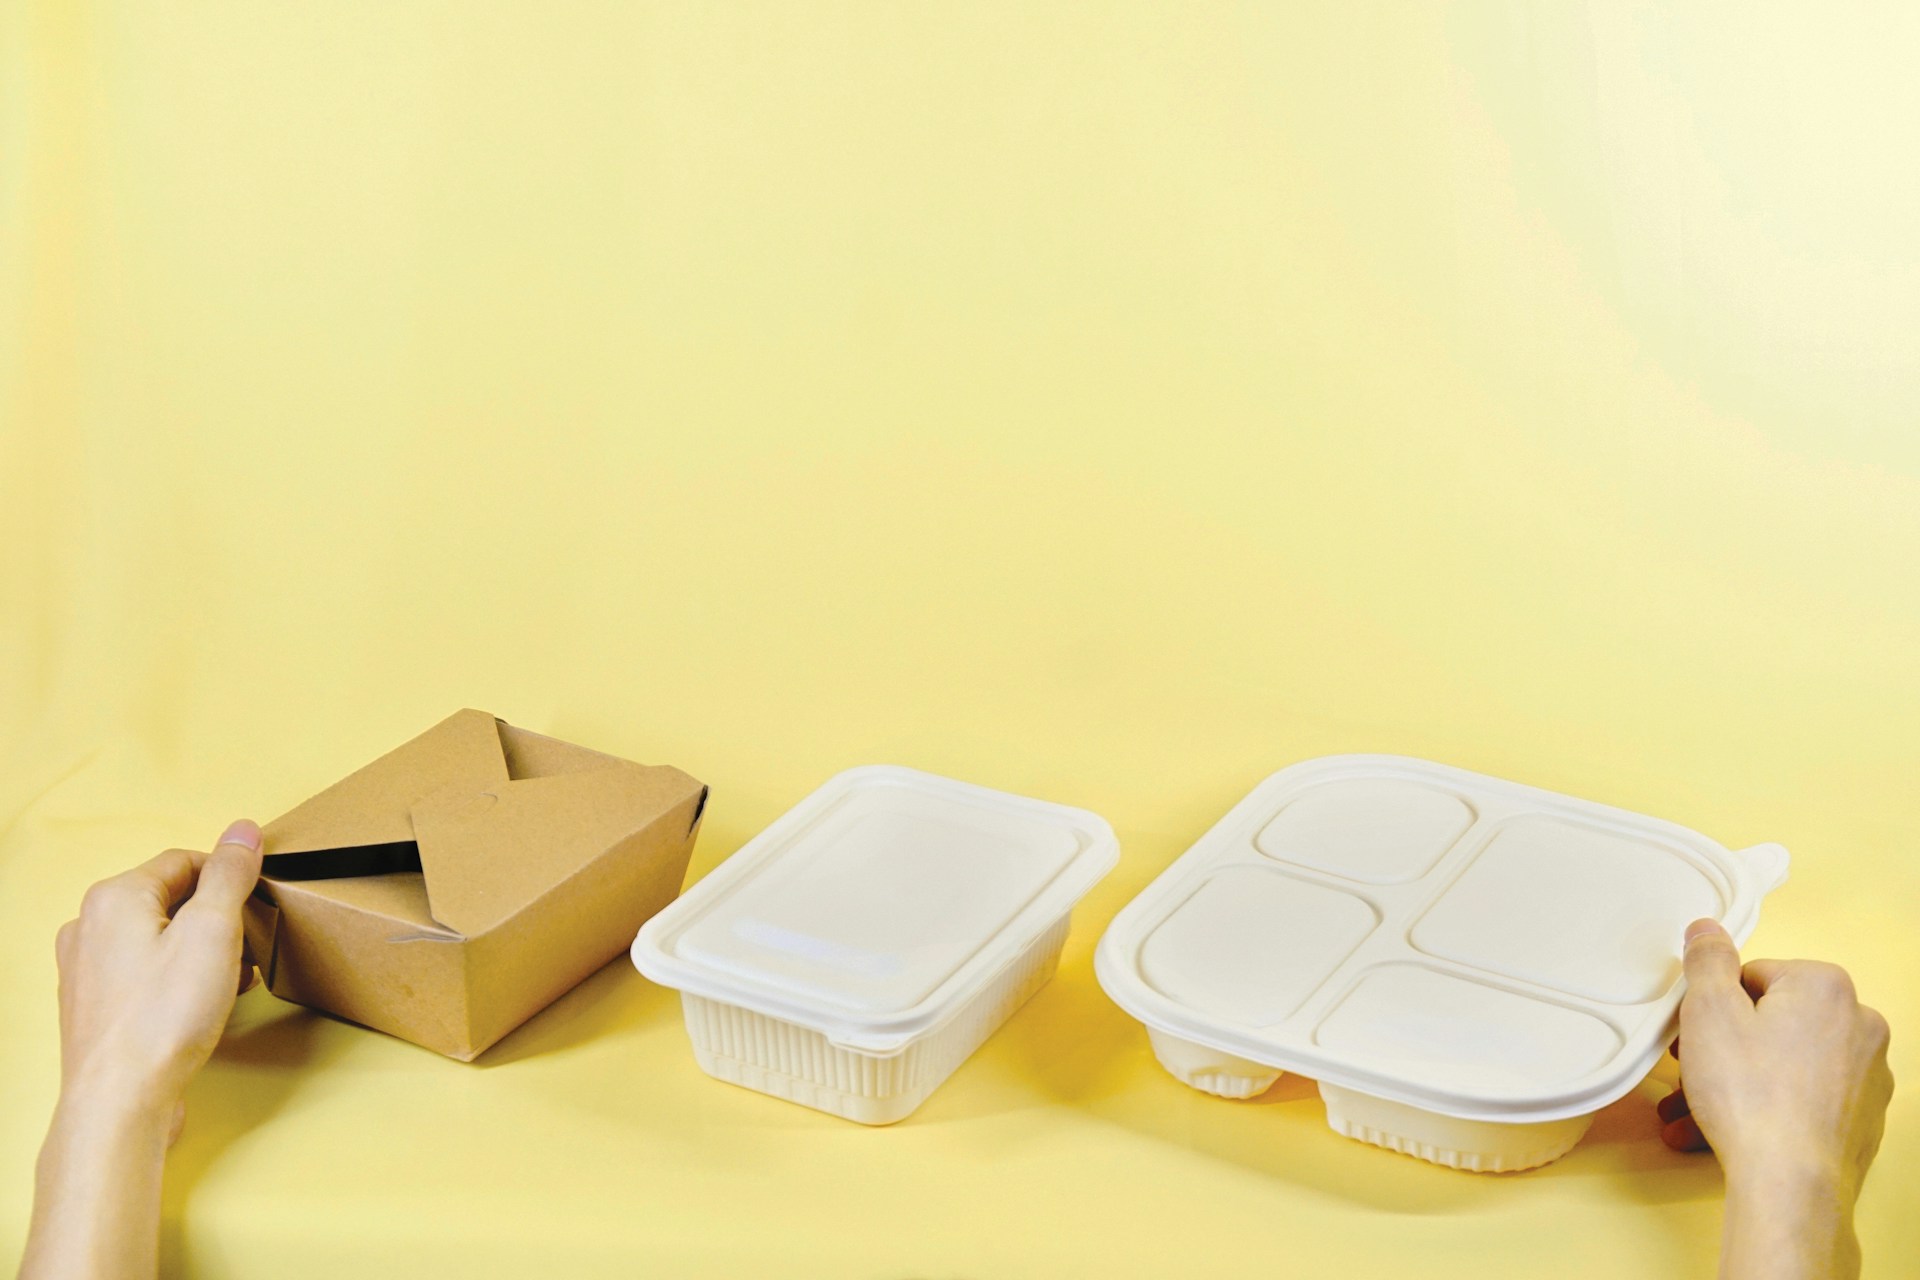
Molded fiber is used for trays, bowls, egg cartons, and takeaway containers. Performance against grease, moisture, and heat varies by product and coating.
Multilayer structures
Packages may combine paper, plastic, foil, coatings, and adhesives. These structures can offer excellent protection while creating recycling challenges.
Read our detailed comparison of food packaging materials before making your final choice.
Quick Packaging Selection Guide
| Food product | Packaging options to consider | Important requirements |
|---|---|---|
| Dry snacks | Pouches, bags, cartons or tubs | Moisture, oxygen and puncture resistance |
| Coffee | High-barrier pouch, metal can or glass jar | Oxygen, moisture, light and aroma protection |
| Fresh produce | Vented tray, container, bag or film | Airflow, moisture control and physical protection |
| Frozen food | Freezer-grade bag, pouch, tray or carton | Low-temperature strength and moisture protection |
| Sauce | Glass jar, plastic bottle, pouch or metal can | Leak resistance, acidity and filling temperature |
| Bakery products | Paper bag, carton, tray or flow wrap | Grease resistance and protection from crushing |
| Fresh meat | Sealed tray, vacuum bag or barrier pouch | Leak control, seal integrity and temperature control |
| Beverage | Glass bottle, plastic bottle, can or carton | Pressure, light, oxygen and closure performance |
| Takeaway meal | Coated paper, fiber, plastic or aluminum container | Heat, grease, leaks and customer convenience |
| Powdered food | Bag, carton, tub or canister | Moisture control and secure closure |
These examples are starting points, not automatic recommendations. The final package should be evaluated for the exact food, process, and intended use.
Step 6: Consider Transportation and Distribution
Food packaging must survive more than the retail shelf. It may experience:
- Drops
- Vibration
- Compression
- Temperature changes
- Humidity
- Stacking
- Warehouse handling
- Delivery vehicles
- E-commerce shipping
A glass jar may need dividers and a strong corrugated box. A flexible pouch may need puncture protection. A frozen package must remain strong at low temperatures.
Primary, secondary, and tertiary packaging must work together
Primary packaging directly contains the food. Secondary packaging groups or protects individual products. Tertiary packaging supports bulk storage and shipping.
For example:
- The sauce is held in a glass jar.
- Several jars are separated by cardboard dividers.
- Multiple cartons are stacked and wrapped on a pallet.
Improving one level while ignoring the others can lead to damaged products.
Test the complete shipping system
Packaging tests may include:
- Drop testing
- Vibration testing
- Compression testing
- Leak testing
- Seal testing
- Temperature and humidity testing
- Pallet stability testing
Testing should reflect the actual transportation route and handling conditions.
Step 7: Make the Package Convenient for Customers
Protection is essential, but customers also expect packaging to be practical.
Useful features can include:
- Easy-open tabs
- Resealable zippers
- Pouring spouts
- Handles
- Portion control
- Clear windows
- Microwave instructions
- Measuring caps
- Tamper-evident seals
- Easy-to-read disposal guidance
Customer convenience depends on the product.
A resealable zipper may be valuable for a family-size snack but unnecessary for a single-serving package. A transparent window may help sell bakery products but may not be suitable for food that is sensitive to light.
Consider accessibility
Businesses should also consider whether the package is easy to hold, read, and open for customers with limited hand strength or vision.
Small changes to opening features, contrast, text size, and grip can make a package easier to use.
Step 8: Plan the Label and Branding
Packaging must leave enough space for required information and clear branding.
Before approving the package size or shape, determine where you will place:
- Product name
- Brand name
- Ingredients
- Nutrition information
- Allergen information
- Net quantity
- Storage instructions
- Preparation directions
- Date or lot codes
- Manufacturer information
- Barcodes
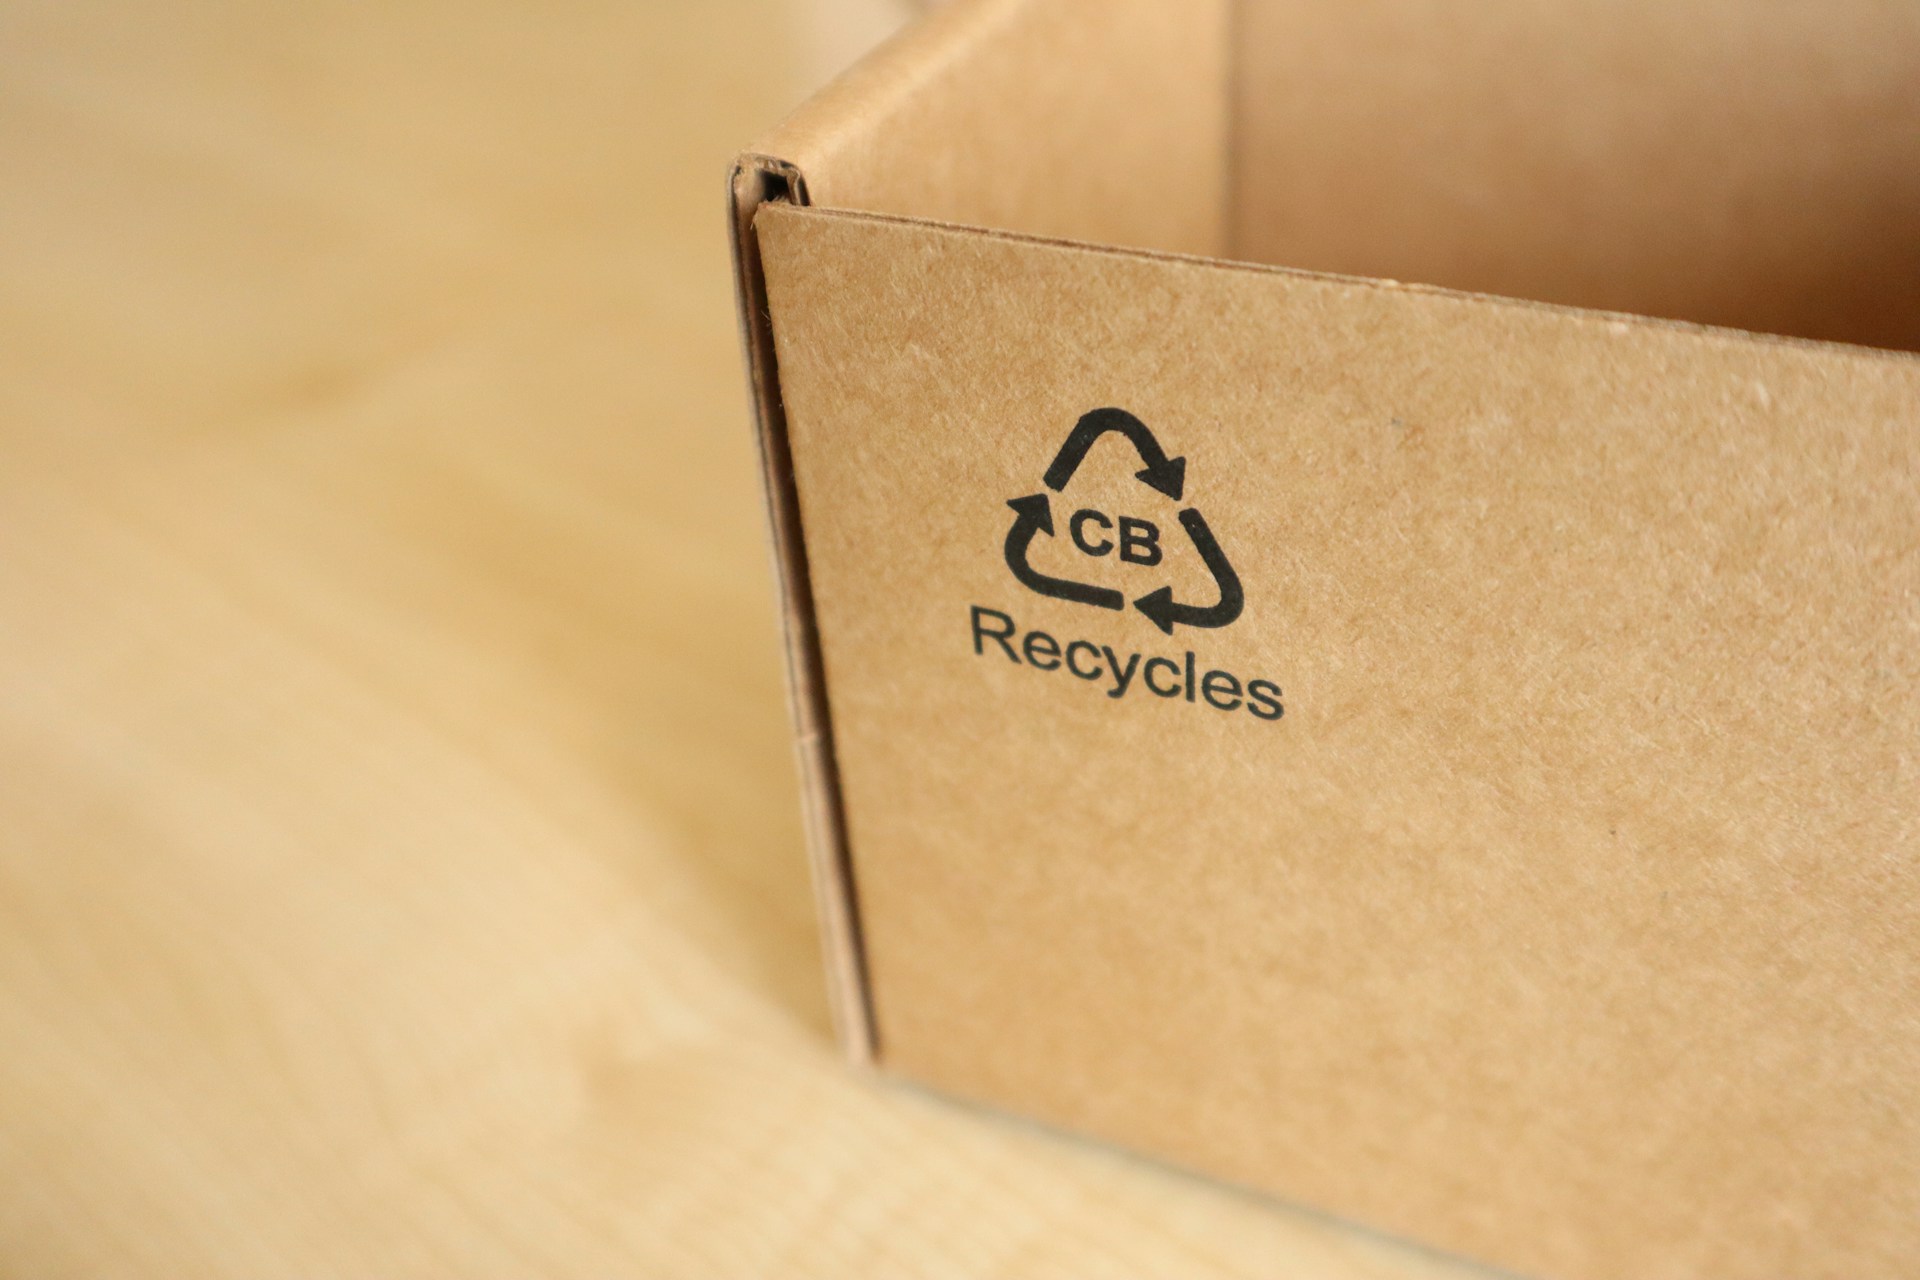
- Recycling or disposal instructions
Do not create an attractive front panel while leaving too little room for essential information elsewhere.
Keep the design readable
A successful package should communicate the most important details quickly.
Avoid:
- Too many competing messages
- Small text
- Weak color contrast
- Confusing claims
- Hard-to-find preparation instructions
- Images that misrepresent the product
The package should look attractive while remaining honest and useful.
Step 9: Evaluate Sustainability Carefully
Sustainable packaging is not simply a matter of replacing plastic with paper.
A responsible evaluation can include:
- Amount of material used
- Package weight
- Recycled content
- Renewable content
- Reusability
- Local recycling access
- Composting requirements
- Transportation efficiency
- Product protection
- Food waste prevention
A heavier package may require more transportation energy. A lightweight multilayer pouch may protect food effectively but be difficult to recycle. A compostable package may offer little benefit where suitable composting facilities are unavailable.
The best choice depends on the complete life cycle and the local waste system.
Avoid vague environmental claims
Terms such as “green,” “eco-friendly,” “biodegradable,” and “sustainable” can be unclear.
Use specific, supportable statements such as:
- Made with a stated percentage of recycled content
- Recyclable where accepted
- Certified for commercial composting
- Designed for reuse
- Made with less material than the previous package
Clear claims help customers make better disposal decisions and reduce the risk of misleading marketing.
Step 10: Calculate the Total Packaging Cost
The unit price of a box, bottle, or pouch is only one part of the cost.
Calculate expenses related to:
- Packaging materials
- Printing and labels
- Closures and seals
- Filling equipment
- Packaging labor
- Storage space
- Transportation weight
- Protective shipping materials
- Product damage
- Food waste
- Testing
- Compliance
- Minimum order quantities
- Design changes
- Customer returns
A cheaper container may increase other costs if it requires more labor, occupies more warehouse space, or causes frequent damage.
Compare cost per usable product
Instead of looking only at package price, consider the cost of delivering one undamaged, acceptable product to the customer.
This provides a more realistic view of packaging value.
Step 11: Check Supplier Capabilities
A dependable supplier should be able to explain the package’s materials, performance, limitations, and intended uses.
Ask potential suppliers:
- Is the package suitable for direct food contact?
- Which foods is it designed to hold?
- What temperatures can it tolerate?
- Is it suitable for freezing, hot filling, or reheating?
- Can you provide food-contact documentation?
- What are the minimum order quantities?
- What quality controls are used?
- Are samples available?
- Can you support custom printing?
- How consistent are lead times?
- What testing has been completed?
- What happens if a batch does not meet specifications?
- Can the package be traced by production lot?
Do not rely only on a website description or verbal promise. Request technical specifications and relevant documentation.
Step 12: Test Before Full Production
Never place a large packaging order before evaluating samples with the actual food.
A useful testing process can include:
Compatibility testing
Check whether the food affects the package or the package affects the food during expected contact.
Look for:
- Staining
- Swelling
- Cracking
- Softening
- Corrosion
- Flavor changes
- Odor changes
- Delamination
- Seal failure
Filling-line testing
Confirm that the package works with production equipment at the required speed.
Check:
- Feeding
- Filling
- Sealing
- Capping
- Labeling
- Coding
- Inspection
- Case packing
Storage testing
Store the filled package under expected conditions and monitor both product quality and package performance.
Distribution testing
Test the package under simulated or real-world transportation conditions.
Customer-use testing
Ask representative users to open, hold, pour, reseal, store, and dispose of the package. They may identify problems that were missed during technical testing.
Common Food Packaging Selection Mistakes
Starting with appearance
Branding matters, but the package must first protect the product.
Copying a competitor
A competitor’s package may look suitable, but their food formula, filling process, distribution system, and shelf-life target may be different.
Selecting one material for every product
Different product sizes, flavors, and formulations may have different requirements.
Ignoring the closure
A strong bottle can still fail because of a poor cap, liner, seal, or application process.
Ordering too much too early
Large orders may reduce unit cost, but they create risk if the package has not been properly tested.
Forgetting future production needs
A package that works for a small manual operation may become inefficient when production volume grows.
Making unsupported sustainability claims
Environmental claims should be specific, accurate, and supported by evidence.
Treating supplier claims as complete approval
Businesses remain responsible for confirming that the package is suitable for their food and intended conditions of use.
Food Packaging Decision Checklist
Before approving your food packaging, confirm the following:
Product requirements
- What type of food will the package contain?
- Is the product wet, dry, oily, acidic, or sensitive to light?
- Does it require an oxygen or moisture barrier?
- What shelf life is expected?
Processing and storage
- What is the filling temperature?
- Will the package be refrigerated or frozen?
- Will customers heat food inside it?
- How long will the package remain in contact with the food?
Performance
- Does it resist leaks, punctures, and crushing?
- Does the seal remain secure?
- Can it survive transportation?
- Does it work with production equipment?
Customers and branding
- Is it easy to open and use?
- Can it be resealed if needed?
- Is the label clear and readable?
- Does it represent the brand effectively?
Compliance and sustainability
- Is the material suitable for its intended food-contact use?
- Has the supplier provided documentation?
- Are all claims accurate?
- Are disposal instructions clear?
- Is unnecessary material being avoided?
Cost
- What is the complete packaging cost?
- What are the minimum order quantities?
- How much storage space is required?
- Could damage or spoilage increase the total cost?
Final Thoughts
Choosing the best food packaging begins with understanding the food—not selecting a material, shape, or design.
Businesses should examine the product’s moisture, acidity, fat content, sensitivity to oxygen and light, storage temperature, shelf life, transportation, and customer use. They should then compare formats and materials that can meet those needs.
The final decision should balance safety, performance, convenience, branding, sustainability, compliance, and cost.
Most importantly, test the actual food inside the finished package before beginning full production. A package that looks right on paper still needs to perform reliably in the real world.
Frequently Asked Questions
How do I choose the right packaging for my food product?
Start with the food’s physical characteristics, filling process, storage temperature, shelf-life target, transportation needs, and customer use. Then compare materials and formats that meet those requirements.
What is the best food packaging material?
There is no single best material. Plastic, paper, glass, metal, and fiber each provide different benefits. The best option depends on the specific product and conditions of use.
What packaging is best for dry food?
Dry foods often need protection from moisture, oxygen, insects, odors, and physical damage. Common options include sealed pouches, lined cartons, bags, tubs, jars, and canisters.
What packaging is best for frozen food?
Frozen food requires packaging that remains strong at low temperatures and protects against moisture loss, leaks, punctures, and freezer conditions. Freezer-grade films, pouches, trays, and coated cartons are common options.
What packaging is best for hot food?
Hot food requires packaging designed for the expected filling and holding temperature. Options may include suitable polypropylene containers, coated paperboard, aluminum trays, or heat-resistant fiber packages.
How does packaging affect food shelf life?
Packaging can control exposure to oxygen, moisture, light, contaminants, and physical damage. Its effectiveness depends on the material, seal, food, processing method, and storage conditions.
Should small food businesses use custom packaging?
Custom packaging can strengthen branding, but it may require higher minimum orders and upfront design costs. Small businesses can begin with stock containers and custom labels before investing in fully customized packaging.
How should food packaging be tested?
Testing may include food compatibility, seal strength, leakage, shelf life, temperature resistance, drop, vibration, compression, and customer-use testing.
Is sustainable food packaging more expensive?
Some sustainable options have a higher unit price, while others reduce costs through lower material use, lighter shipping weight, or simpler designs. Businesses should compare total costs rather than just the package price.
What documents should I request from a packaging supplier?
Ask for technical specifications, intended conditions of use, food-contact compliance information, test results, quality documentation, lot-traceability details, and instructions for storage and use.