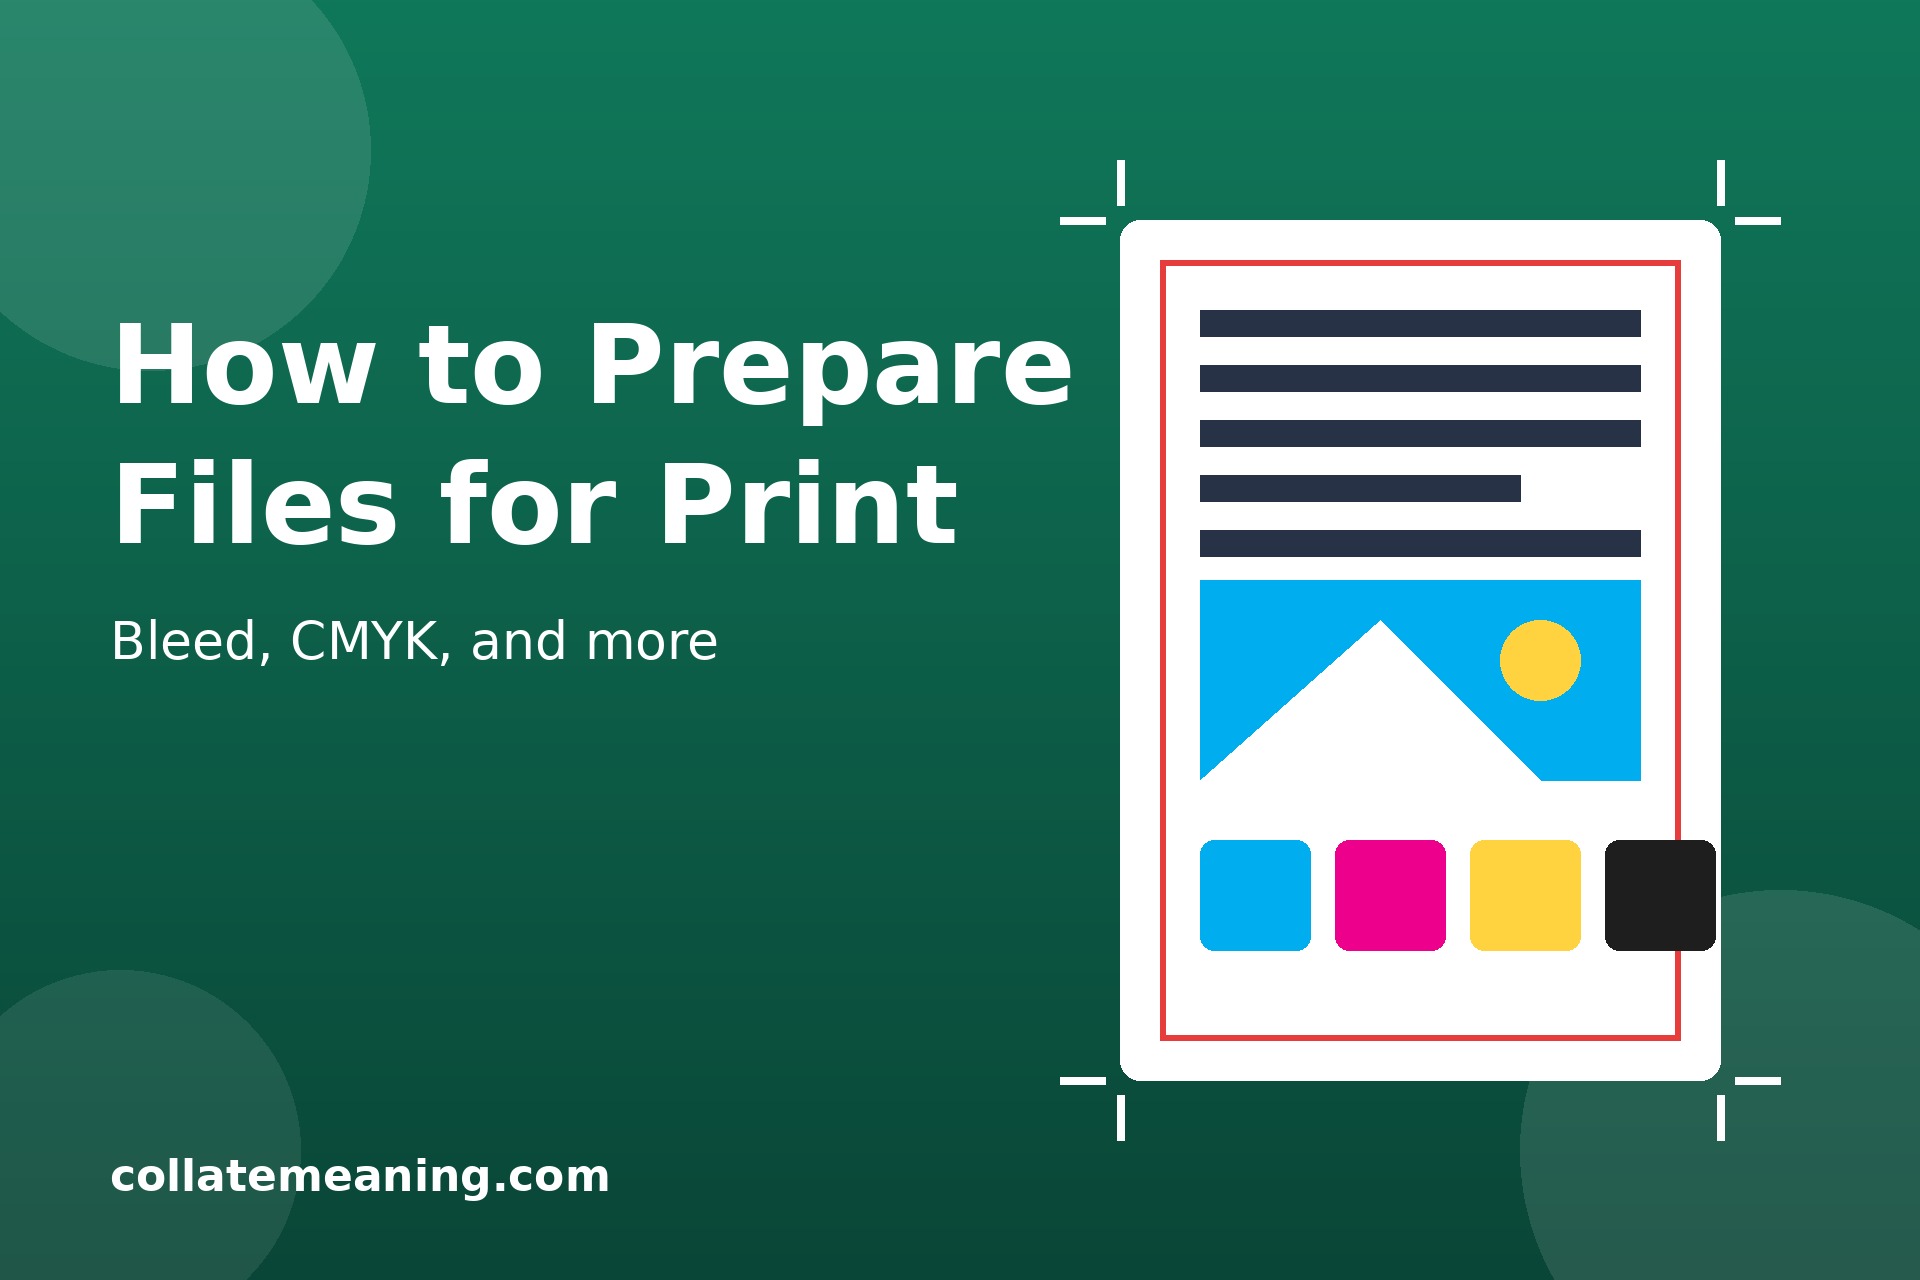
Learning how to prepare files for print is the difference between a crisp, professional result and a blurry, miscoloured disappointment. Printers cannot fix a low-resolution image or add bleed that was never there, so the file you send is exactly what you get back. The good news is that preparing a print-ready file is a simple checklist, not a mystery, and this guide walks through it step by step.
Whether you are sending a business card, a poster, a book, or packaging artwork to a print shop, the same rules apply: correct size, bleed, CMYK colour, high resolution, and a proper PDF export. Get those right and your job will print exactly as you designed it. The rules also apply no matter which print method your job uses, including how UV printing works, so it pays to learn them once and reuse them every time.
Why File Preparation Matters
A screen and a printed page are very different things. Your monitor shows colour with light, at 72 pixels per inch, on a backlit display. A printer puts ink on paper at 300 dots per inch, in a much narrower range of colours. A file that looks perfect on screen can print too dark, with the wrong colours, with white edges, or with blurry images, simply because it was never set up for print.
Most of these problems are preventable. Print shops reject or delay a surprising number of jobs because of missing bleed, RGB colour, low-resolution images, or missing fonts. Spending ten minutes checking your file before you send it saves days of reprints and wasted money.
Step 1: Set the Right Document Size and Bleed
Start by setting your document to the exact finished size of the printed piece, known as the trim size. A standard business card is 3.5 by 2 inches, an A4 flyer is 210 by 297 millimetres, and a US letter page is 8.5 by 11 inches. Never design at a different size and expect the printer to scale it, because scaling changes text size, margins, and image resolution.
Then add bleed. Bleed is extra artwork that extends past the trim edge, usually 3 millimetres (about 0.125 inches) on every side, so that when the printed sheet is cut, the colour runs right to the edge with no white sliver. Any background colour, image, or design element that touches the edge of your page must extend into the bleed area. Keep important text and logos inside a safe margin, at least 3 to 5 millimetres inside the trim edge, so nothing important is cut off.
Step 2: Work in CMYK, Not RGB
RGB is the colour mode of screens: red, green, and blue light mixed together. Printers use CMYK: cyan, magenta, yellow, and black ink. RGB can show bright neon colours that CMYK ink simply cannot reproduce, so a design built in RGB will look duller and different when printed.
Set your document to CMYK from the start, before you choose colours. If you are converting an existing RGB design, do the conversion yourself in your design program and check the result, rather than letting the printer convert it blindly. Bright blues and greens shift the most, so pay special attention to those. The same colour-mode rule applies to every print method, and what offset printing is shows why it matters most on large commercial runs, where a colour surprise is multiplied across thousands of copies.
Step 3: Use High-Resolution Images
Resolution is measured in dots per inch (dpi), and for print you need 300 dpi at the final printed size. An image that looks sharp on a website at 72 dpi will look soft and pixelated when printed, because the printer needs roughly four times as much detail.
Check every image in your design at 100 percent zoom. If it looks blurry on screen at full size, it will look worse in print. Never enlarge a small image to fill a large space, because stretching it only makes the pixels bigger. Use original photos and vector graphics (such as logos saved as SVG, AI, or EPS files) wherever possible, since vectors stay sharp at any size. Stock photos downloaded as small web previews are the most common cause of blurry prints, so always download the full-size, print-resolution version.
Step 4: Convert Text to Outlines or Embed Fonts
If your printer does not have the fonts you used, your text may be replaced with a different font, or the layout may shift. There are two ways to prevent this. The safest is to convert your text to outlines (also called curves) before exporting, which turns the letters into vector shapes that no longer need the font at all. The alternative is to embed the fonts in your PDF when you export it.
Converting to outlines is permanent, so always keep an editable copy of your file with live text, and only outline a copy for print. Also check your spelling and proofread at this stage, because outlined text cannot be edited by the printer if you spot a typo later.
Step 5: Check Your Margins and Safe Zone
Cutting is never perfectly precise, so printers allow a small tolerance, usually 1 to 2 millimetres. That is why the safe zone matters: keep all text, logos, and important details at least 3 to 5 millimetres inside the trim edge. Anything closer risks being clipped.
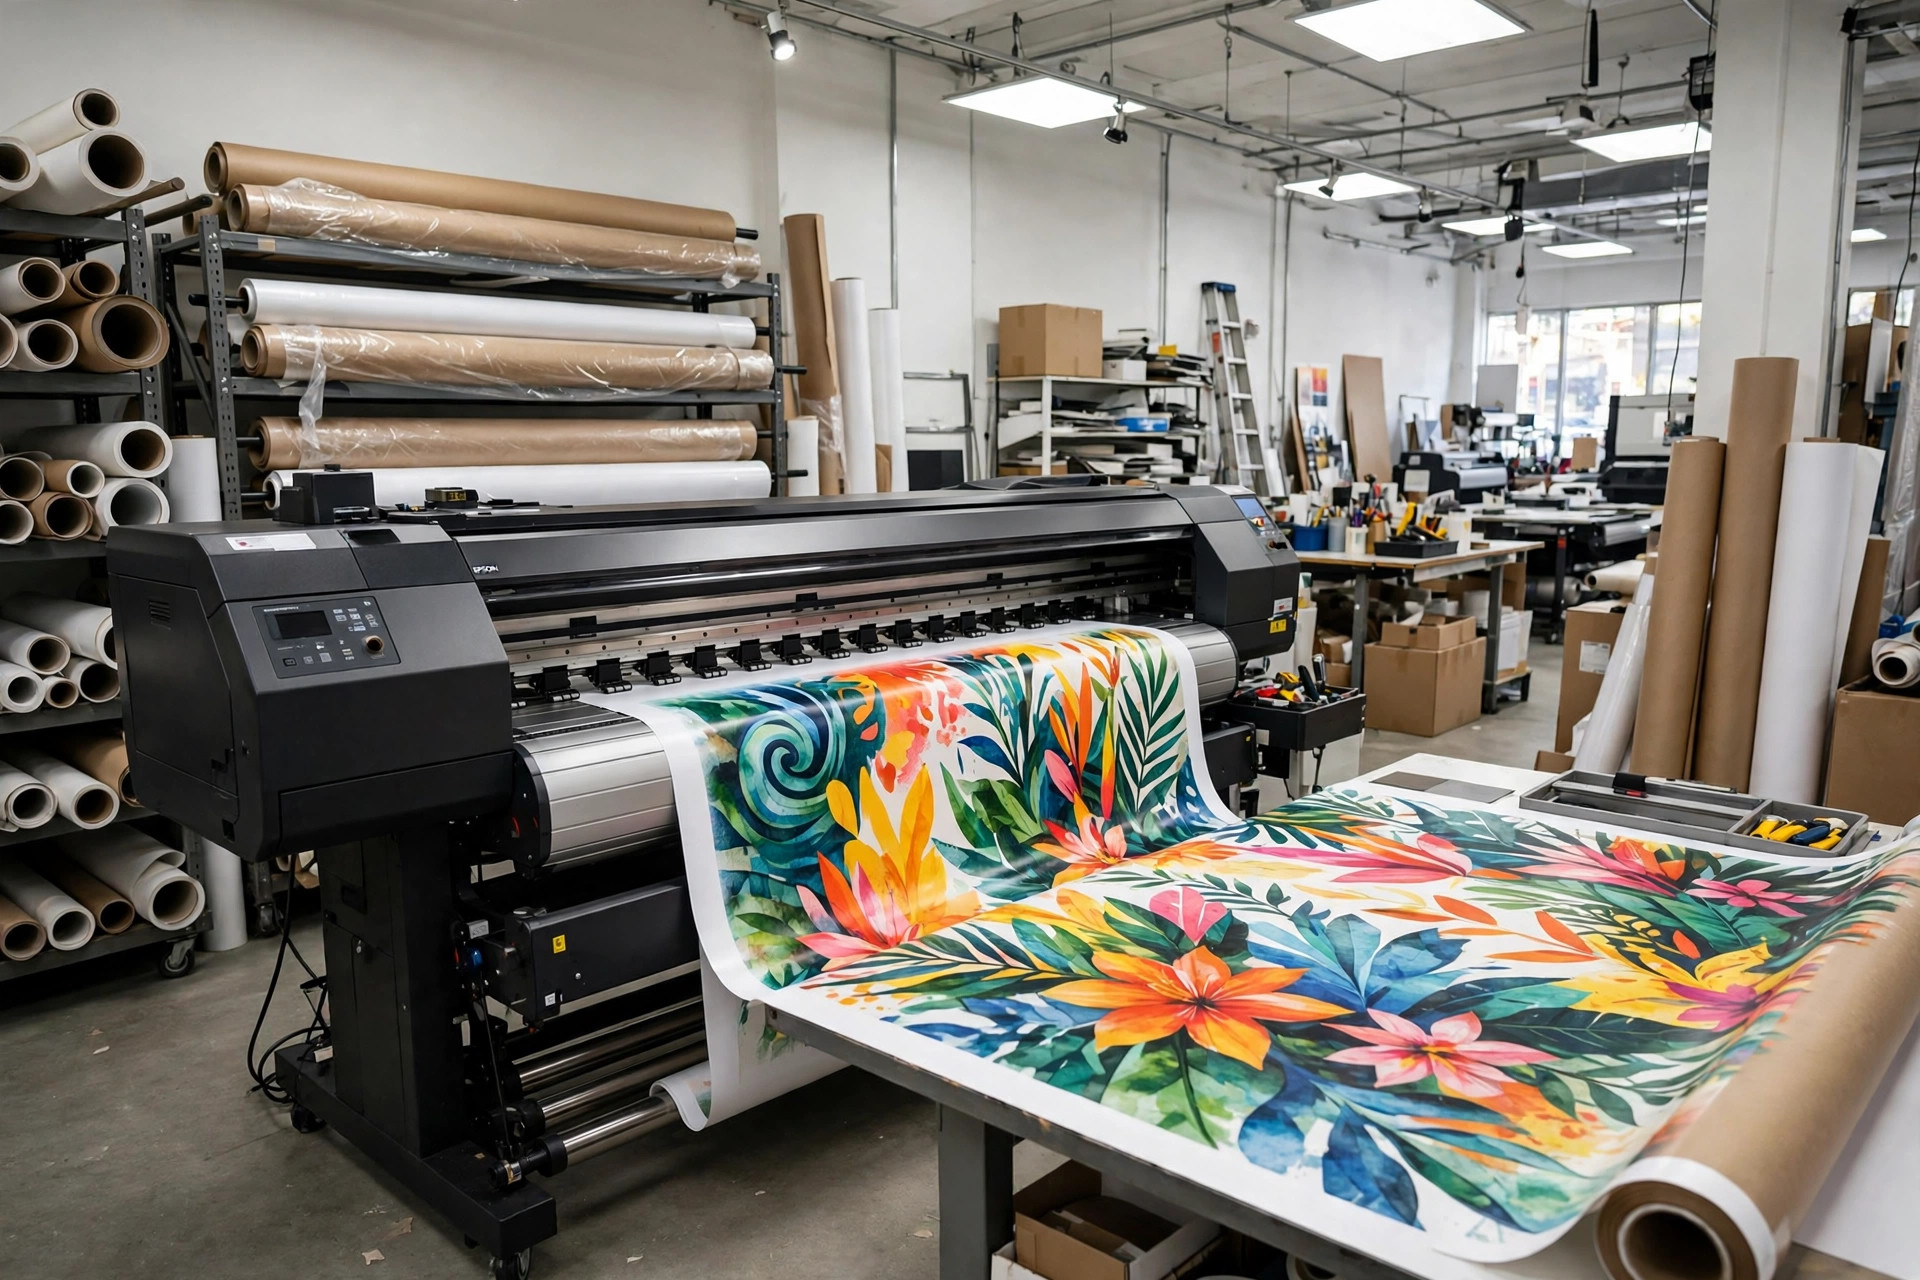
This rule is especially important for items with a lot of text near the edge, such as folded leaflets and booklets, where the fold can shift slightly. It also matters for oversized work: if you are designing a poster or a banner, read what large format printing is first, because large-format jobs often have different bleed and margin requirements from standard sizes.
Step 6: Export as a Print-Ready PDF
Almost every print shop wants a PDF, and the right export settings matter. Use the PDF/X-1a or PDF/X-4 preset if your software offers it, since these are standards designed for print. In the export dialogue, make sure you have ticked: include bleed, include crop marks, embed all fonts (or use outlined text), and use CMYK colour with images at 300 dpi. Do not use the “smallest file size” or “web” preset, because it compresses images and strips out exactly the quality you need.
Name your file clearly, for example “business-card-front-final.pdf”, and export one PDF per design, or one PDF with the pages in order for a multi-page document. Before you send it, open the exported PDF and check every page: look for missing images, wrong colours, text that has shifted, and pages in the wrong order. This final visual check catches most mistakes.
Common File Mistakes and How to Fix Them
- No bleed: extend backgrounds and edge images 3 millimetres past the trim line.
- RGB colour: convert the document to CMYK and re-check bright colours.
- Low-resolution images: replace them with 300 dpi originals or vector graphics.
- Missing fonts: outline the text or embed the fonts in the PDF.
- Text too close to the edge: move it inside the safe margin.
- Wrong PDF preset: re-export with the PDF/X-1a or PDF/X-4 preset, with bleed and crop marks.
- Rich black vs plain black: large areas of black should use rich black (for example, C60 M40 Y40 K100) rather than plain K100, which can look grey or washed out. Ask your printer which mix they prefer.
One more thing worth checking is the finish. If your job is packaging, the label is part of the artwork, so read how to label food packaging before finalising the file, because legal text, barcodes, and nutrition panels all have placement and size rules that affect your layout.
A Quick Pre-Flight Checklist
Run through this list before every print job, and you will catch nearly every common error.
- Document size matches the finished trim size.
- Bleed of 3 millimetres on all sides, with edge artwork extended into it.
- Colour mode is CMYK throughout, including all images.
- All images are 300 dpi at their printed size.
- Fonts are outlined or embedded, and spelling is checked.
- Text and logos sit inside the safe margin.
- Exported as a print-ready PDF (PDF/X-1a or PDF/X-4) with bleed and crop marks.
- You have opened the final PDF and checked every page visually.
This checklist works for every kind of print job, from a single business card to a full catalogue, and it applies just as much to short-run digital work. If you are still deciding which print method suits your job, how digital printing works is a good place to start, since digital printing is the most common choice for small runs and quick turnarounds.
Frequently Asked Questions About Preparing Files for Print
What is bleed in printing?
Bleed is extra artwork that extends past the edge of the finished printed piece, usually 3 millimetres on every side. It exists so that when the printed sheet is trimmed to size, the colour runs right to the edge with no white border. Anything that touches the edge of your design must extend into the bleed area.
What is the difference between CMYK and RGB?
RGB is the colour mode of screens, made from red, green, and blue light. CMYK is the colour mode of printers, made from cyan, magenta, yellow, and black ink. RGB can display brighter colours than CMYK ink can reproduce, so files must be converted to CMYK before printing or the colours will look different from what you saw on screen.
What resolution do images need to be for print?
Images for print should be 300 dpi at the size they will actually be printed. A web image at 72 dpi will look blurry in print. Vector graphics such as logos are an exception, because they stay sharp at any size and have no fixed resolution.
What is a print-ready PDF?
A print-ready PDF is a PDF exported with print settings: CMYK colour, 300 dpi images, embedded or outlined fonts, bleed, and crop marks. The PDF/X-1a and PDF/X-4 presets are the standard choices. A PDF exported with web settings is not print-ready, because it compresses images and drops bleed and font data.
Should I convert text to outlines before sending files to print?
Yes, if your design program supports it. Converting text to outlines turns letters into vector shapes, so the printer does not need your fonts and the text cannot shift or be substituted. Always keep an editable copy with live text, because outlined text cannot be edited later.
More Articles You’ll Like
Keep reading — more from this category and across the site:
- What Is 3D Printing? How It Works and What It’s Used For
- What Does ‘Sus’ Mean? Meaning, Origin, and Examples
- Eco-Friendly Packaging for Small Businesses: A Practical Guide
- How to Find Obituaries in Florence, AL: A Step-by-Step Guide
- How to Register a Business in Alabama: A Step-by-Step Guide
- How to Start Journaling for Beginners: A Simple Guide
- What Does ‘Ineffable’ Mean? Meaning, Origin, and Examples
- 50 Funny Penguin Jokes for Kids and Adults